Laser engraving glass, also known as laser marking or etching glass, involves using laser beams to create designs and patterns on glass surfaces.
This guide will have a thorough look at glass laser engraving, covering its definition, the preparation before glass laser engraving, and providing detailed steps for the glass engraving.
Before embarking on your glass engraving journey with a laser, be sure to thoroughly review this guide.
In this article:
- Part 1: What is Glass Laser Engraving and the Machine?
- Part 2: How Do You Prepare Glass for Laser Engraving?
- Case Study: Laser Engrave Glass Perfume Bottle within 5 Steps💡
- Projects: Top 4 Creative Ideas for Glass Laser Engraving
Part 1: What is Glass Laser Engraving and the Machine?
1.1 Glass Laser Engraving Explained:
"Can glass be laser engraved?" Absolutely! Glass laser engraving works by directing a focused laser beam onto the surface of glass, which emits great energy and causes localized heating and vaporization of the material. This process removes a thin layer of glass and creates the desired engraving, such as text, graphics, or patterns.
1.2 The Machine You Need:
To embark on glass laser engraving, you'll need a laser engraving machine specifically designed to work with glass materials.
So, What is the best laser engraver for glass? One popular choice is the LaserPecker series, known for its user-friendly interface, precise engraving capabilities, and compatibility with various materials, including glass.
Part 2: How Do you Prepare Glass for Laser Engraving?
To prepare glass for laser engraving, the first thing is to give it a good clean. Get rid of any dirt, dust, or oils on the surface. This helps make sure the engraving goes smoothly.
If you're using clear or transparent glass, the next thing is to "coat" it. Clear glass doesn't absorb the laser's energy, so coating it helps. Here are 4 ways to do it easily:
Way 1: Laser Engraving Paper
This is a specialized paper designed for laser engraving. It typically has a heat-sensitive coating that absorbs the laser energy and transfers the design onto the glass.
Way 2: Marker
Using a black marker to manually apply a layer of ink or pigment onto the surface of the glass. The marker ink absorbs the laser energy, allowing for engraving.
Way 3: Dark Paper
Similar to laser engraving paper, dark paper has a coating that absorbs laser energy. It can be cut or shaped to cover the area of the glass to be engraved.
Way 4: Laser Marking Spray
This is a spray-on coating specifically formulated for laser engraving. It creates a temporary layer on the glass surface that absorbs the laser energy, facilitating the engraving process.
Among these methods, marking paper is the ideal choice for its convenience and environmental friendliness. Using a marking paper in a variety of colors, you can create a protective coating on the glass surface. This allows vibrant and personalized designs to be etched with precision using a laser engraver.
💡 Case Study: Laser Engrave Glass Perfume Bottle within 5 Steps
Is glass hard to engrave? Definitely not! Whether you're fond of patterns, quotes, or images, the process is quite straightforward. Simply follow these 5 simple steps to add personalized and intricate designs to your laser engraved glass items.
Step 1: Choose Your Glass Material
Glass-made bottles or cups are excellent choices for laser engraving. And if they're colored, opaque, or coated, they'll give a better engraving effect than clear or transparent glass.
Besides, please remember that it's important to choose laser-safe glass material to avoid any potential safety hazards.
In this guide, we'll laser engrave a glass perfume bottle.
Step 2: Choose the Right Laser Engraving Machine for Glass
Here, we choose LaserPecker 4 (LP4), which is a dual-laser and multi-functional diode laser engraver that excels in glass laser engraving.
Step 3: Prepare Your Engraving Design
Use the LaserPecker Design Space app & software to create or import the image or pattern you want to engrave on the glass bottle surface. Consider size, shape, and details like text or patterns.
If you lack inspiration or ideas for laser engraving on different materials, visit our CraftZone for a wealth of laser marking design ideas and inspiration.
Step 4: Set up the Glass Laser Engraving Machine
Firstly, Make sure your engraver is powered on, and then connect your laser engraver to your computer or mobile device using the appropriate interface (USB cable, Bluetooth, etc.)
Secondly, Open the graphic design app/software and load your design.
Thirdly, Place the items within the designated working area and check if the laser lens is properly focused. There are two ways to check.
If you choose LaserPecker 4 (LP4), the first method is to use a ruler to measure the distance between the glass surface and the machine, with a recommended distance of 15cm or 150mm.
Alternatively, you can achieve the correct focal length by judging whether the two red dots emitted by the machine overlap. This ensures precise focusing for optimal engraving results.
Fourthly, You need to turn on the "Preview" mode to see if the design fits properly on the glass surface. If it doesn't, adjust its size and position to match the dimensions of your material.
Finally, Access the software's laser settings to adjust parameters like power, speed, and resolution according to the glass bottle's properties and design intricacy. You might be wondering, "How much laser power is needed to engrave glass?" and "How deep is the laser etch on glass?" Rest assured, I've got you covered!
To get the best result, the recommended laserpecker 4 material settings for glass is 10 W 450 nm; Resolution: 1k; Power: 100%; Depth: 30%; Pass: 1
To explore other laserpecker material settings, refer to the settings table that applies to any laserpecker engraving and cutting machines, including LX1, LP2, LP3, and LP4.
Step 5: Start Your Glass Engraving Now
Double-check everything to avoid mistakes. Then, hit the start button and watch the magic happen. The laser brings your design to life. Keep an eye on it, and you're all set!
When operating a laser engraving machine with a 450 nm blue laser, it's advisable to wear goggles or use a laser protection cover to protect your eyes and body from potential harm, as the blue laser can pose risks.
Additionally, please be mindful that smoke or toxic gases may be emitted during the glass laser engraving process. Wearing a mask or employing an air purifier is essential for safety.
If you want to know more about how to use the LaserPecker 4 machine, check out the LP4 User Manual on our website!
Part 4: Top 4 Creative Ideas for Glass Laser Engraving
Here are 4 ideas for glass laser engraving:
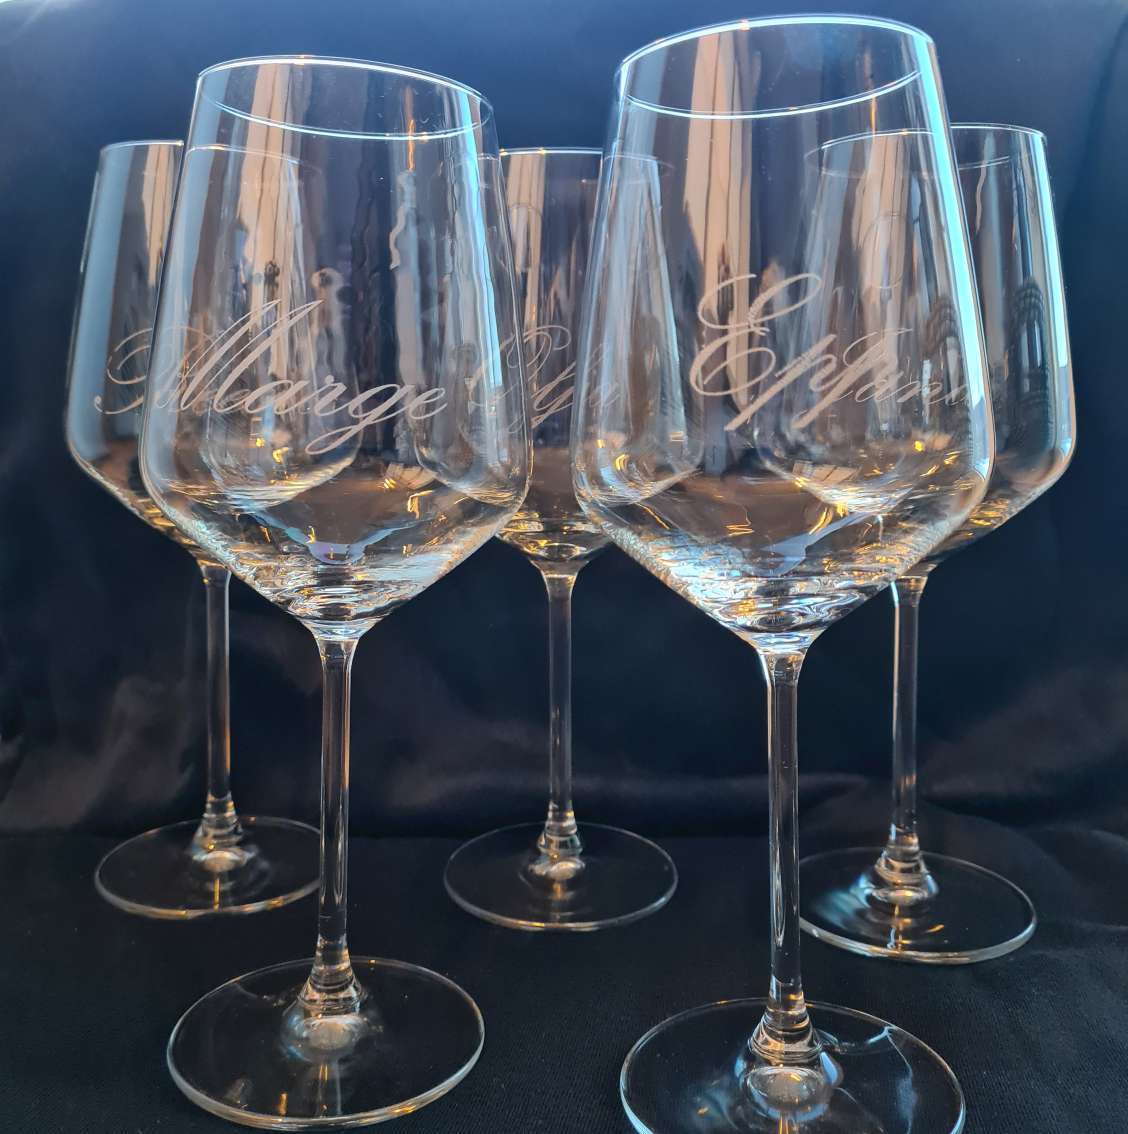
With laser, you can personalize glass cups with intricate designs, logos, or messages.
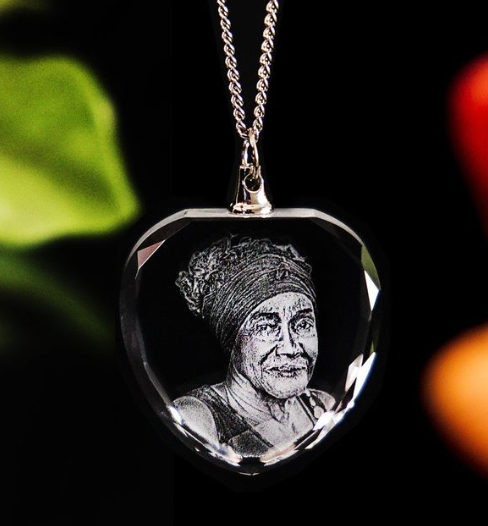
2. Laser Engraved Glass Necklaces with Etched Pictures:
Keep your most cherished memories close to your heart with laser engraved glass necklaces featuring beautifully etched pictures. These one-of-a-kind pieces make for heartfelt gifts and stunning personal accessories, adding a touch of sentimentality to any ensemble.
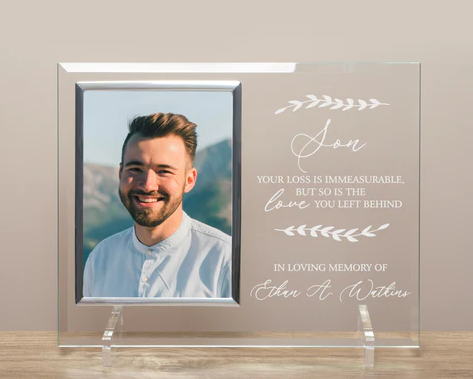
3. Laser Engraved Glass Photo Frames:
Display your treasured memories in style with laser engraved glass photo frames. These modern and elegant frames not only preserve your special moments but also add a contemporary flair to any decor, making them the perfect accent for any room.
4. Laser Engraved Glass Milk Jug:
With laser, you can add decorative patterns or customized messages to glass milk jugs, enhancing their aesthetic appeal while serving milk or other beverages.

Conclusion
In conclusion, this guide showcases glass laser engraving as a powerful means of personalizing artwork. We hope it sparks your creativity and encourages you to explore the possibilities of glass laser engraving, allowing your imaginative designs to come to life.