Rubber laser engraving, also referred to as laser etching rubber or laser engraving rubber, is a precise method of imprinting intricate designs onto rubber surfaces like sheets, bands, or slippers.
In this detailed guide, we'll explore the rubber laser engraving, covering how it works, the rubber engraving machine, and the simple steps to create your own laser engraved rubber crafts.

In this article:
- Part 1: What is Rubber Laser Engraving and the Machine?
- Part 2: How to Improve Rubber Laser Engraving - Key Considerations
- Case Study: Laser Engrave Rubber Stamps within 5 Steps 💡
- Projects: Top 4 Creative projects for Rubber Laser Engraving
Part 1: What is Rubber Laser Engraving and the Machine?
1.1 How are Rubber Engraved?
Rubber laser engraving operates by focusing a laser beam onto the rubber's surface. This beam of light emits high energy, removing a thin layer of material and creating the desired engraving effect, such as text, graphics, or patterns.
This method offers remarkable precision and adaptability, perfect for creating personalized rubber stamps or embellishing rubber watch bands. Its versatility makes it a favored choice for various applications.
1.2 Rubber Laser Engraving Machine:
To begin rubber laser engraving, particularly on rubber sheet, you'll require a laser engraving machine. These machines are indispensable for rubber engraving, as they can handle the hardness and density of rubber materials, streamlining the engraving process and ensuring precise and durable results.
With numerous laser engraving machines available, some people may wonder What laser is best for engraving rubber or what laser engraving machine is best for rubber engraving?
Actually, both Diode and CO2 lasers are ideal for engraving rubber. However, if you prioritize portability, convenience, and cost-efficiency, Diode laser engravers are the preferred choice.
Part 2: How to Improve Rubber Laser Engraving - Key Considerations
Enhancing the quality and precision of rubber laser engraving requires careful attention to several key factors. By focusing on these essential considerations, you can optimize your engraving process for superior results.
- Material Quality:
Choose a clear, smooth, and soft rubber sheet that is not too hard, as these properties facilitate better engraving results.
- Laser Settings:
Adjust laser power, speed, and depth settings according to the characteristics of the rubber sheet, ensuring optimal engraving without causing damage or inconsistencies.
- Surface Preparation:
Clean the rubber surface thoroughly to remove any dirt, dust, or residue, which can interfere with the engraving process and affect the final outcome.
- Test Engraving:
Conduct test engravings on sample pieces of rubber to fine-tune settings and optimize results before engraving the final product.
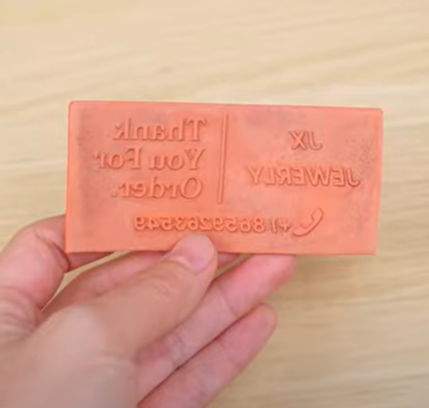
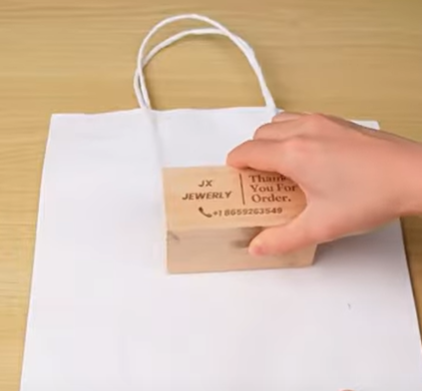
💡 Case Study: Laser Engrave Rubber Stamps within 5 Steps
Preparation checklist for laser engraving stamps:
- Engraving Material: Rubber Sheets
- Engraving Machine: Rubber Laser Engraver
- Engraving Design: Text, Images, Patterns, etc.
Is rubber hard to engrave? Definitely not! Whether you prefer patterns, quotes, or images, the process is straightforward. Follow these 5 simple steps to add personalized and intricate designs to your laser engraved rubber crafts.
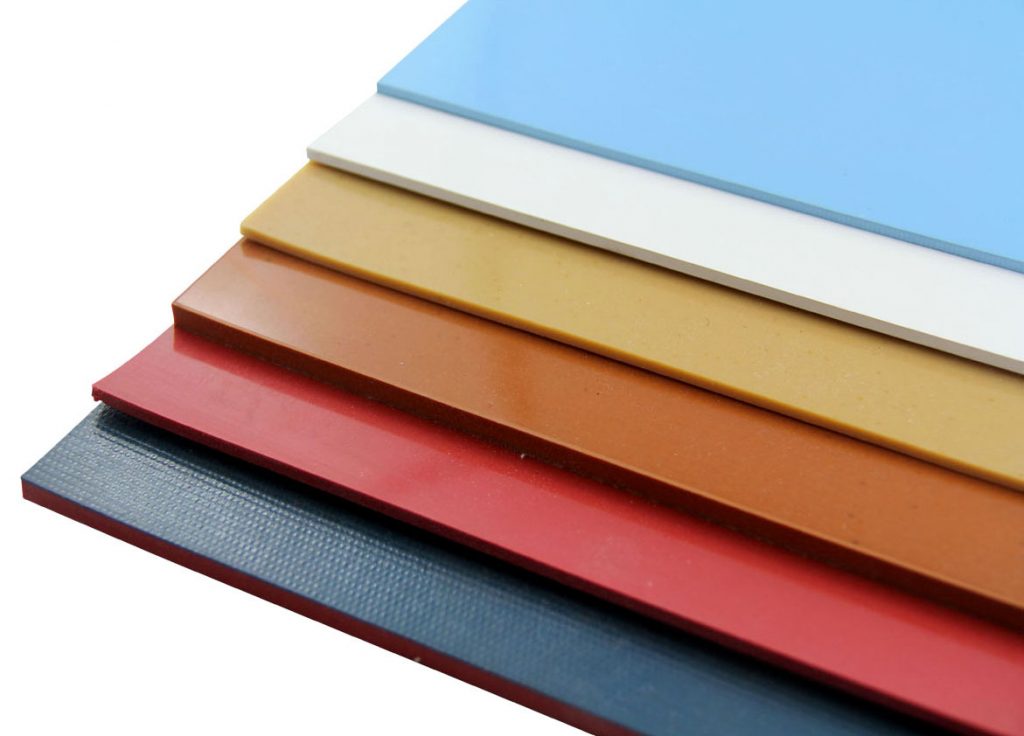
Step 1: Choose Your Rubber Material
Selecting the right stone material for laser engraving is crucial for achieving desired results. Rubber materials with clear and smooth surface are all good choices. However, please remember that it's important to choose laser-safe rubber material to avoid any potential safety hazards.
In this guide, we'll conduct a case study on laser engraving stamps with a soft rubber sheet..
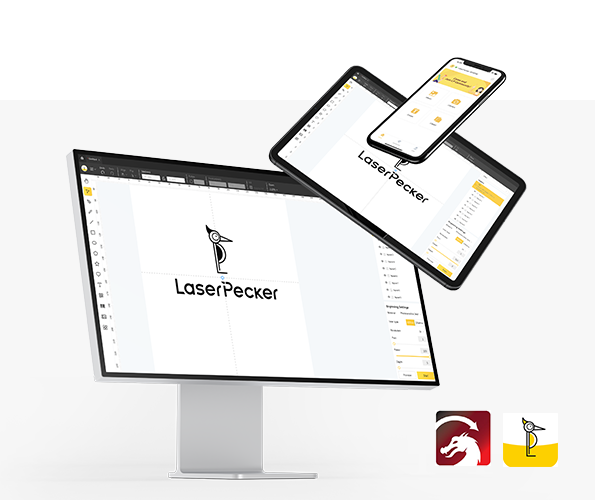
Step 2: Choose the Right Laser Engraving Machine for Rubber
Here, we choose LaserPecker 4 (LP4), which is a dual-laser and multi-functional laser engraver.
Step 3: Prepare Your Engraving Design
Use a free graphic design app/software to create or import the image or pattern you want to engrave on the rubber sheet surface. Consider size, shape, and details like text or patterns.
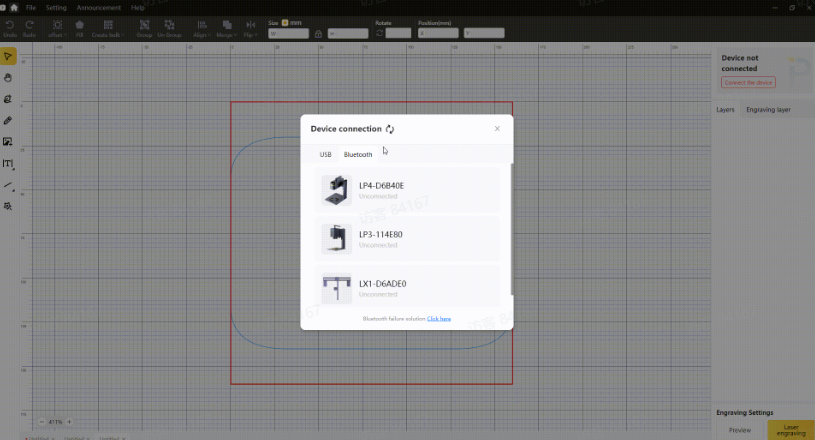
Step 4: Set up the Rubber Laser Engraving Machine
Firstly, Make sure your engraver is powered on, and then connect your laser engraver to your computer or mobile device using the appropriate interface (USB cable, Bluetooth, etc.)
Secondly, Open the graphic design app/software and load your design.
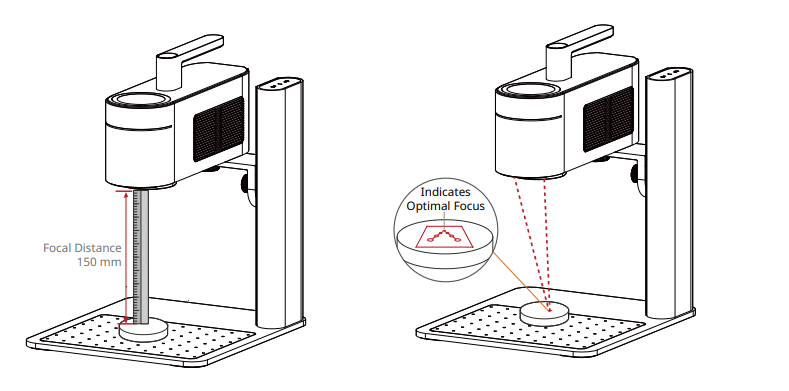
Thirdly, Turn on the "Preview Mode" to confirm if the laser lens is correctly focused. To verify it, you have 2 methods.
If you choose LaserPecker 4 (LP4), the first method is to use a ruler to measure the distance between the rubber sheet surface and the machine, with a recommended distance of 15cm or 150mm.
Alternatively, you can achieve the correct focal length by judging whether the two red dots emitted by the machine overlap. This ensures precise focusing for optimal engraving results.
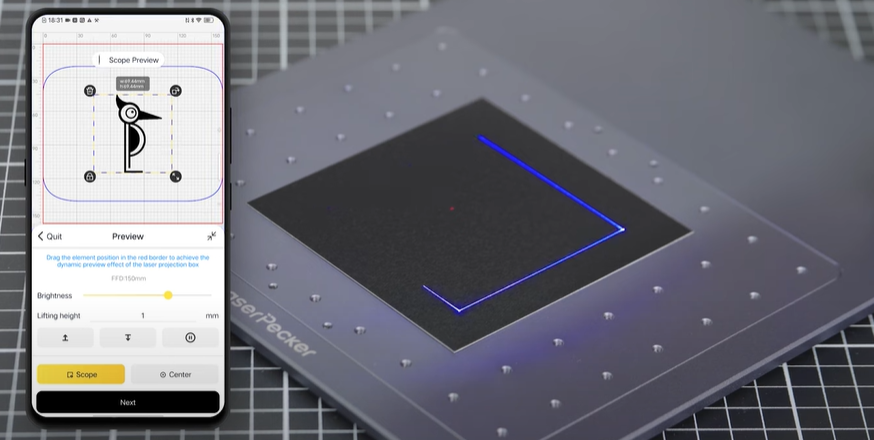
Fourthly, You need to place the items within the designated working area and examine the design's appearance on the rubber sheet. If it doesn't fit correctly, you'll need to adjust its position and size to ensure it aligns with the dimensions of your project.
Finally, Access the software's laser settings to adjust parameters like power, speed, and resolution according to the rubber sheet's properties and design intricacy. You might be wondering, "How much laser power is needed to engrave rubber sheet?" and "How deep is the laser etch on rubber sheet?" Rest assured, I've got you covered!
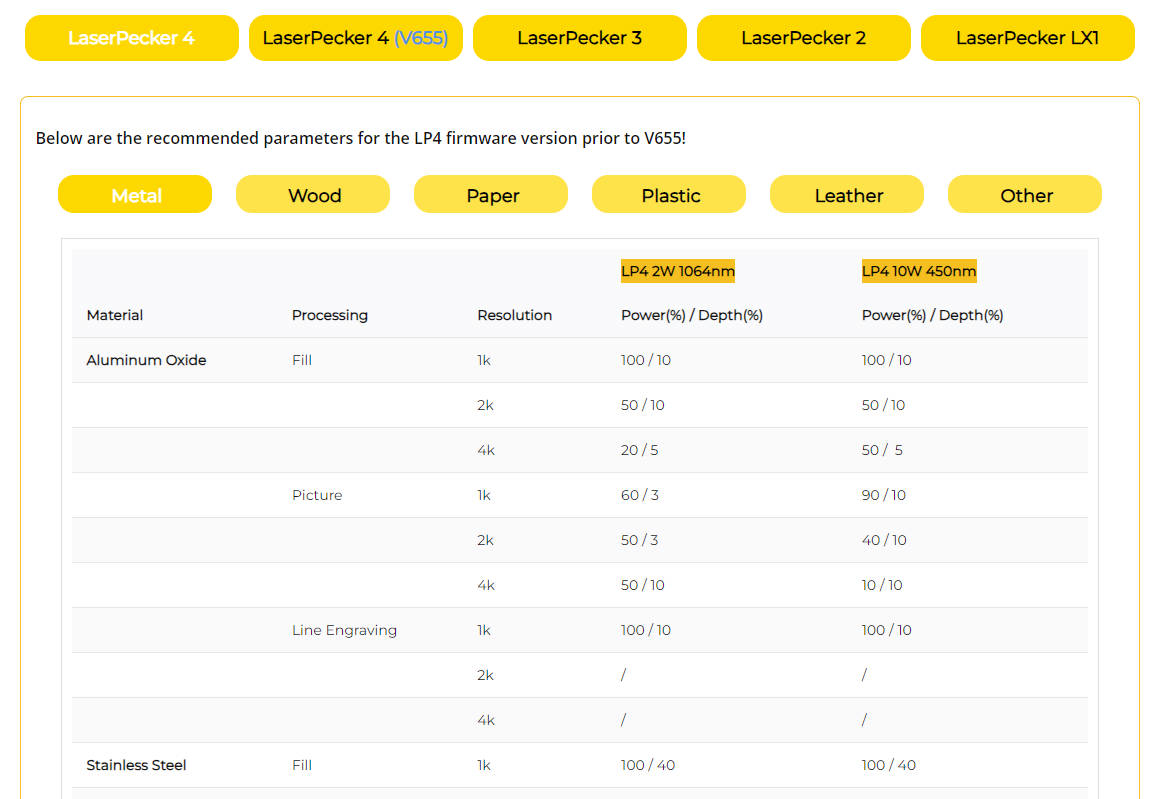
To get the best result, the recommended laserpecker 4 material settings for rubber sheet is 10 W 450 nm; Resolution: 2k; Power: 100%; Depth: 25%; Pass: 1
To explore other laserpecker material settings, refer to the settings table that applies to any laserpecker engraving and cutting machines, including LP1, LP2, LP3, and LP4.
Step 5: Start Your Rubber Laser Engraving Now
Double-check everything to avoid mistakes. Then, hit the start button and watch the magic happen. The laser brings your design to life. Keep an eye on it, and you're all set!
When operating a laser engraving machine with a 450 nm blue laser, it's advisable to wear goggles or use a laser protection cover to protect your eyes and body from potential harm, as the blue laser can pose risks.
Additionally, please be mindful that smoke or toxic gases may be emitted during the rubber laser engraving process. Wearing a mask or employing an air purifier is essential for safety.
If you want to know more about how to use the LaserPecker LP4 machine, check out the LP4 User Manual on our website!
Projects: 4 Creative Rubber Laser Engraving Projects for Beginners
Now that you've completed the rubber stamps laser engraving case study, we're excited to offer you 4 more rubber engraving projects (from watch straps to phone case) for practice and inspiration!
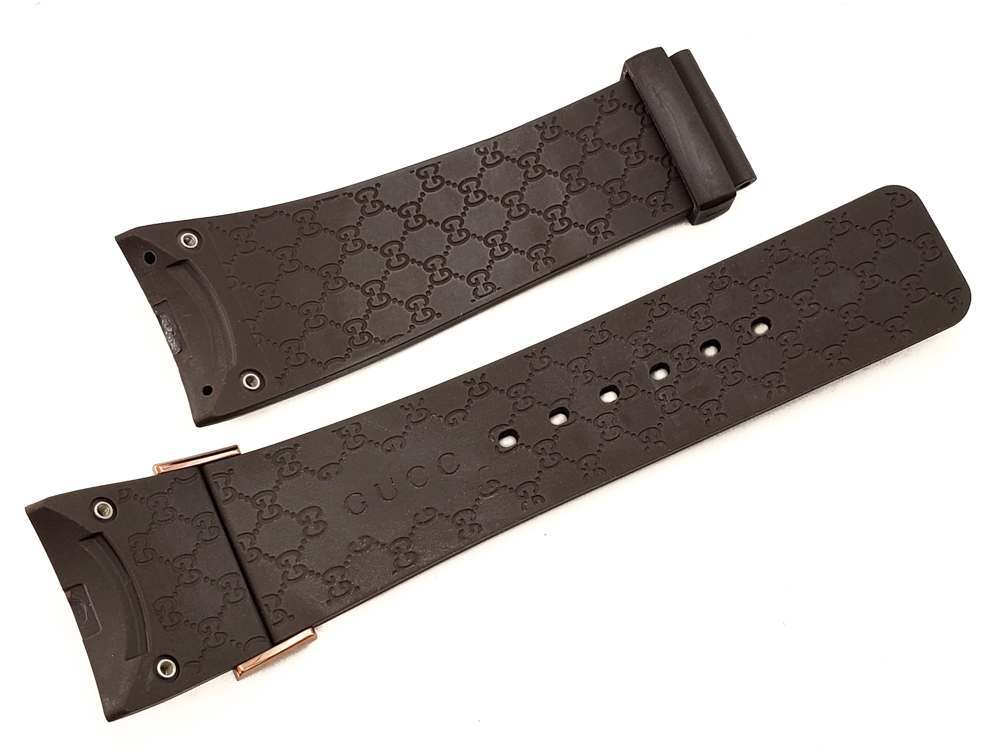
1. Laser Engraved Rubber Watch Bands:
You can create a unique look for your watch by adding intricate designs or text to the rubber watch bands.
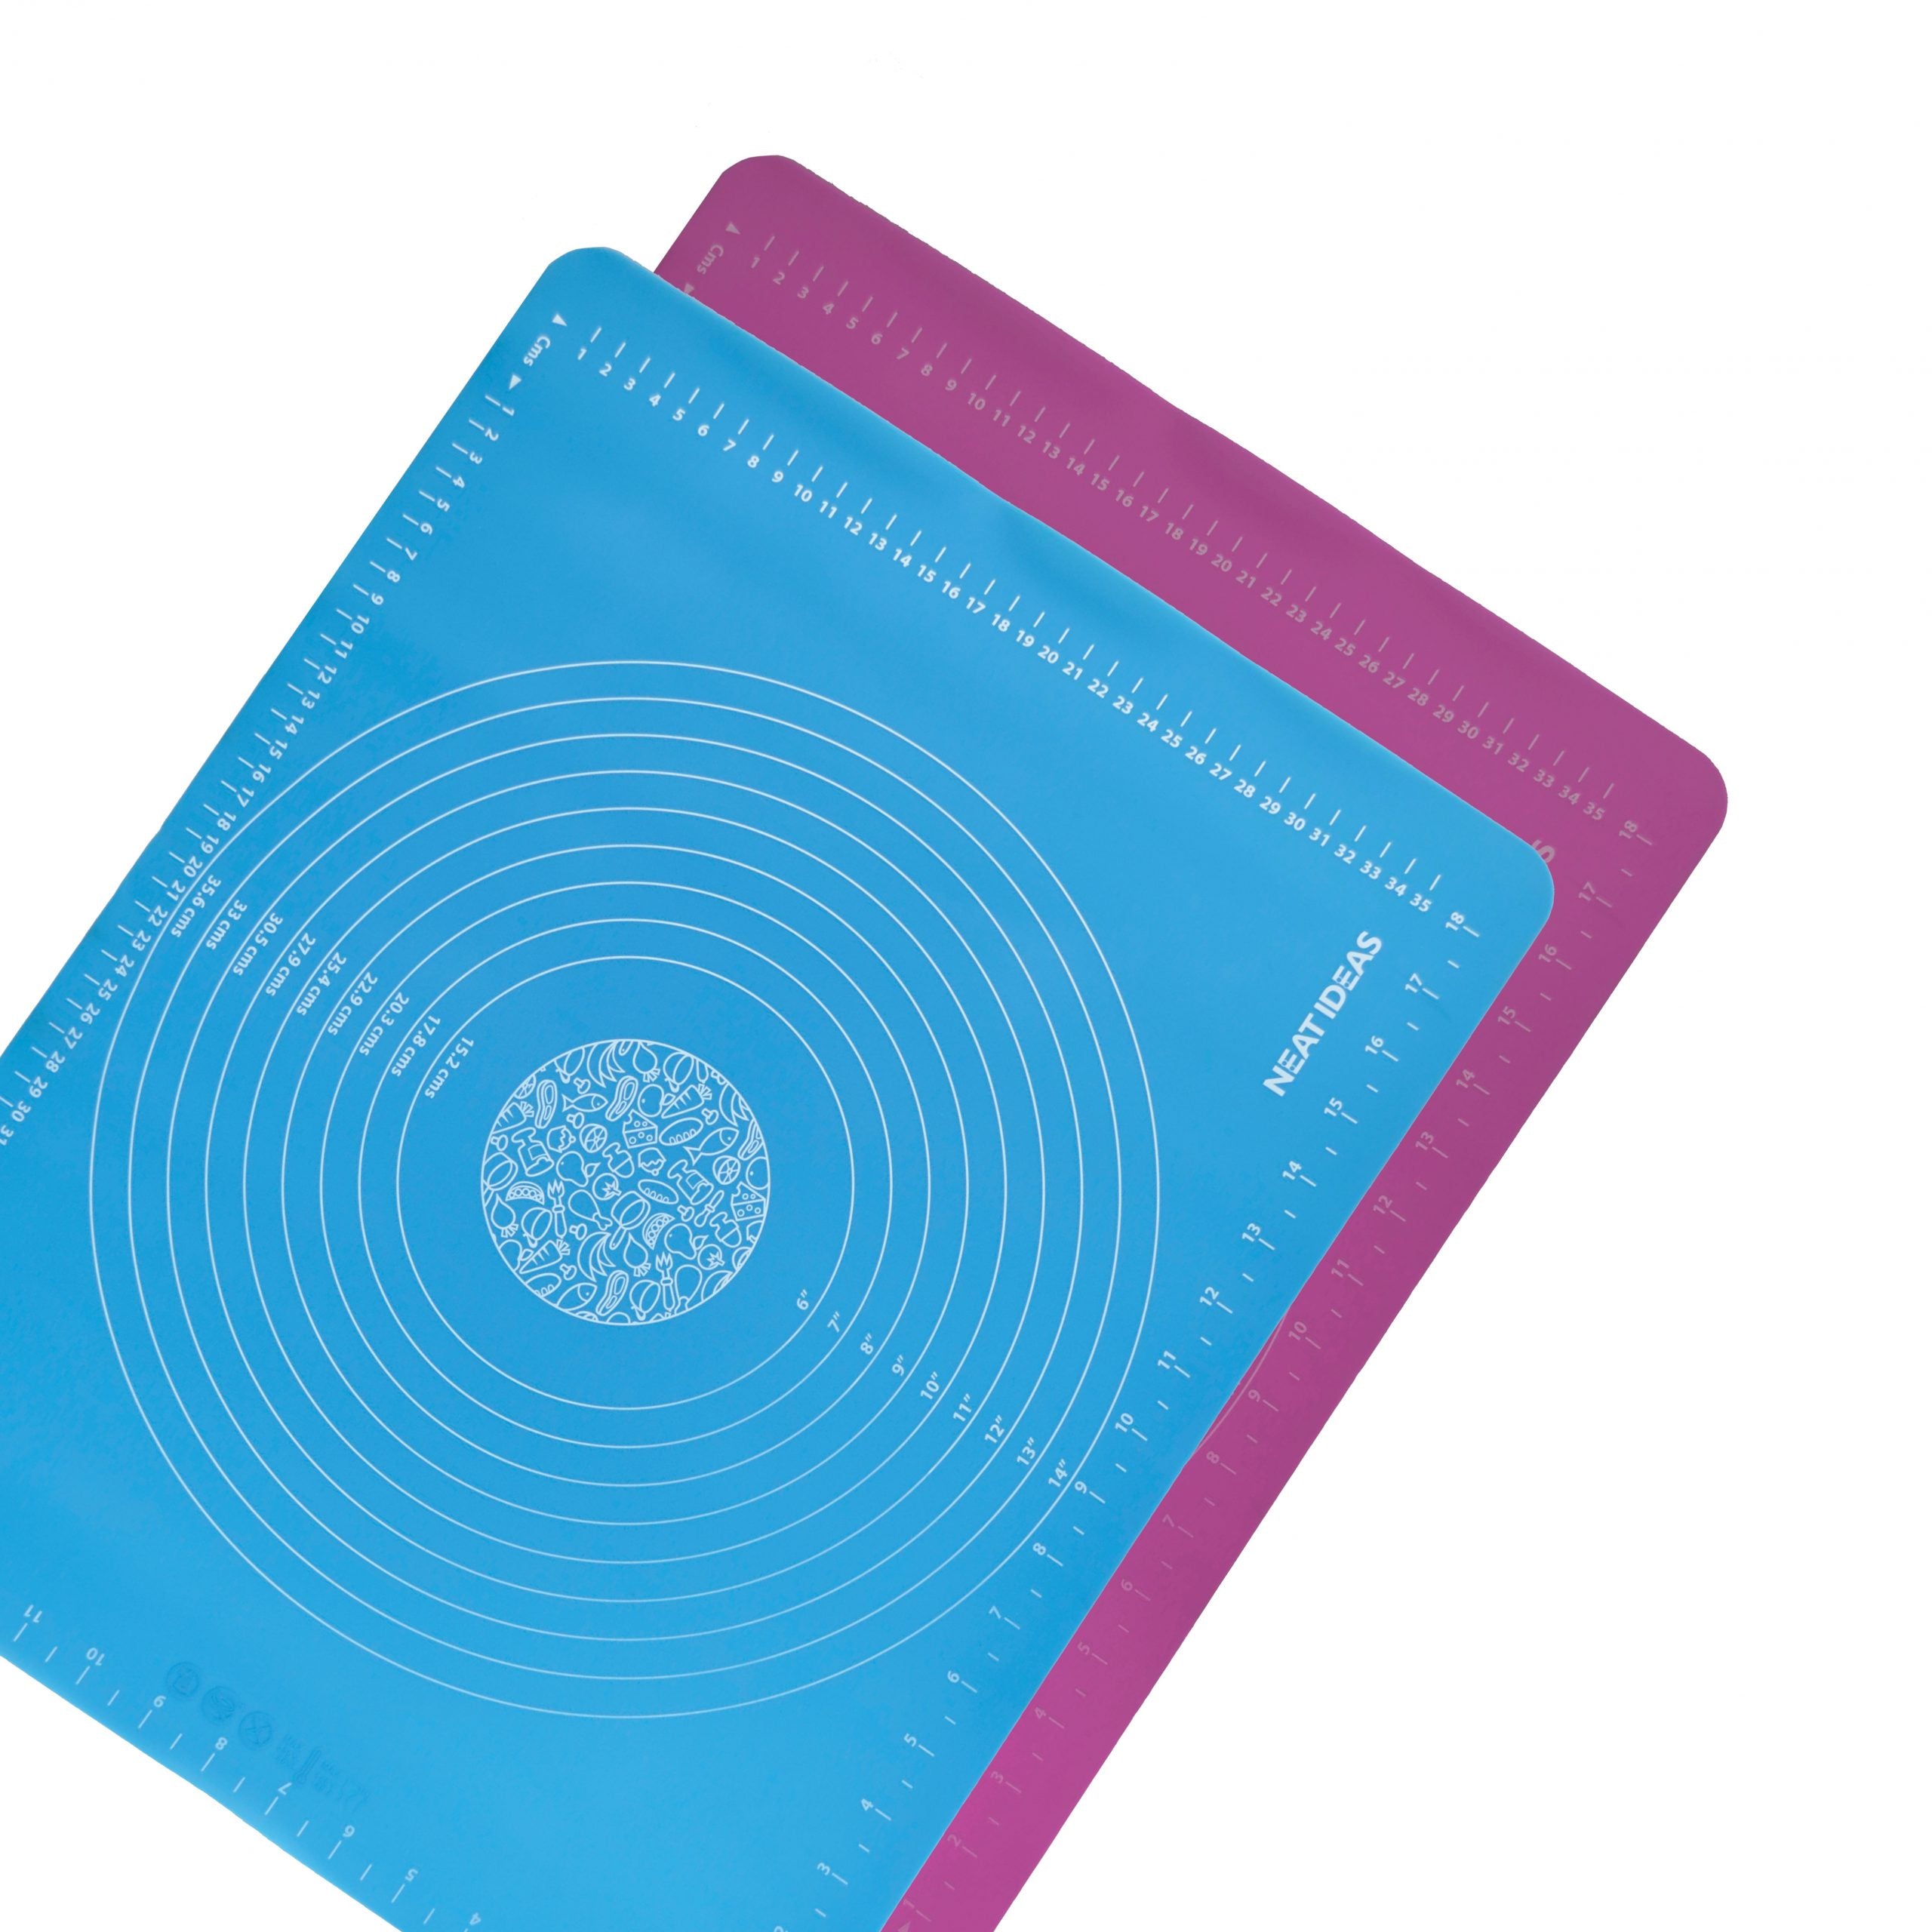
2. Laser Engraved Rubber Baking Mat:
Make your baking experience more unique by engraving decorative patterns or personalized messages onto rubber baking mats.
3. Laser Engraved Rubber Slippers:
Transform ordinary rubber slippers into stylish footwear by engraving patterns, logos, or names onto them, making a fashion statement with every step.
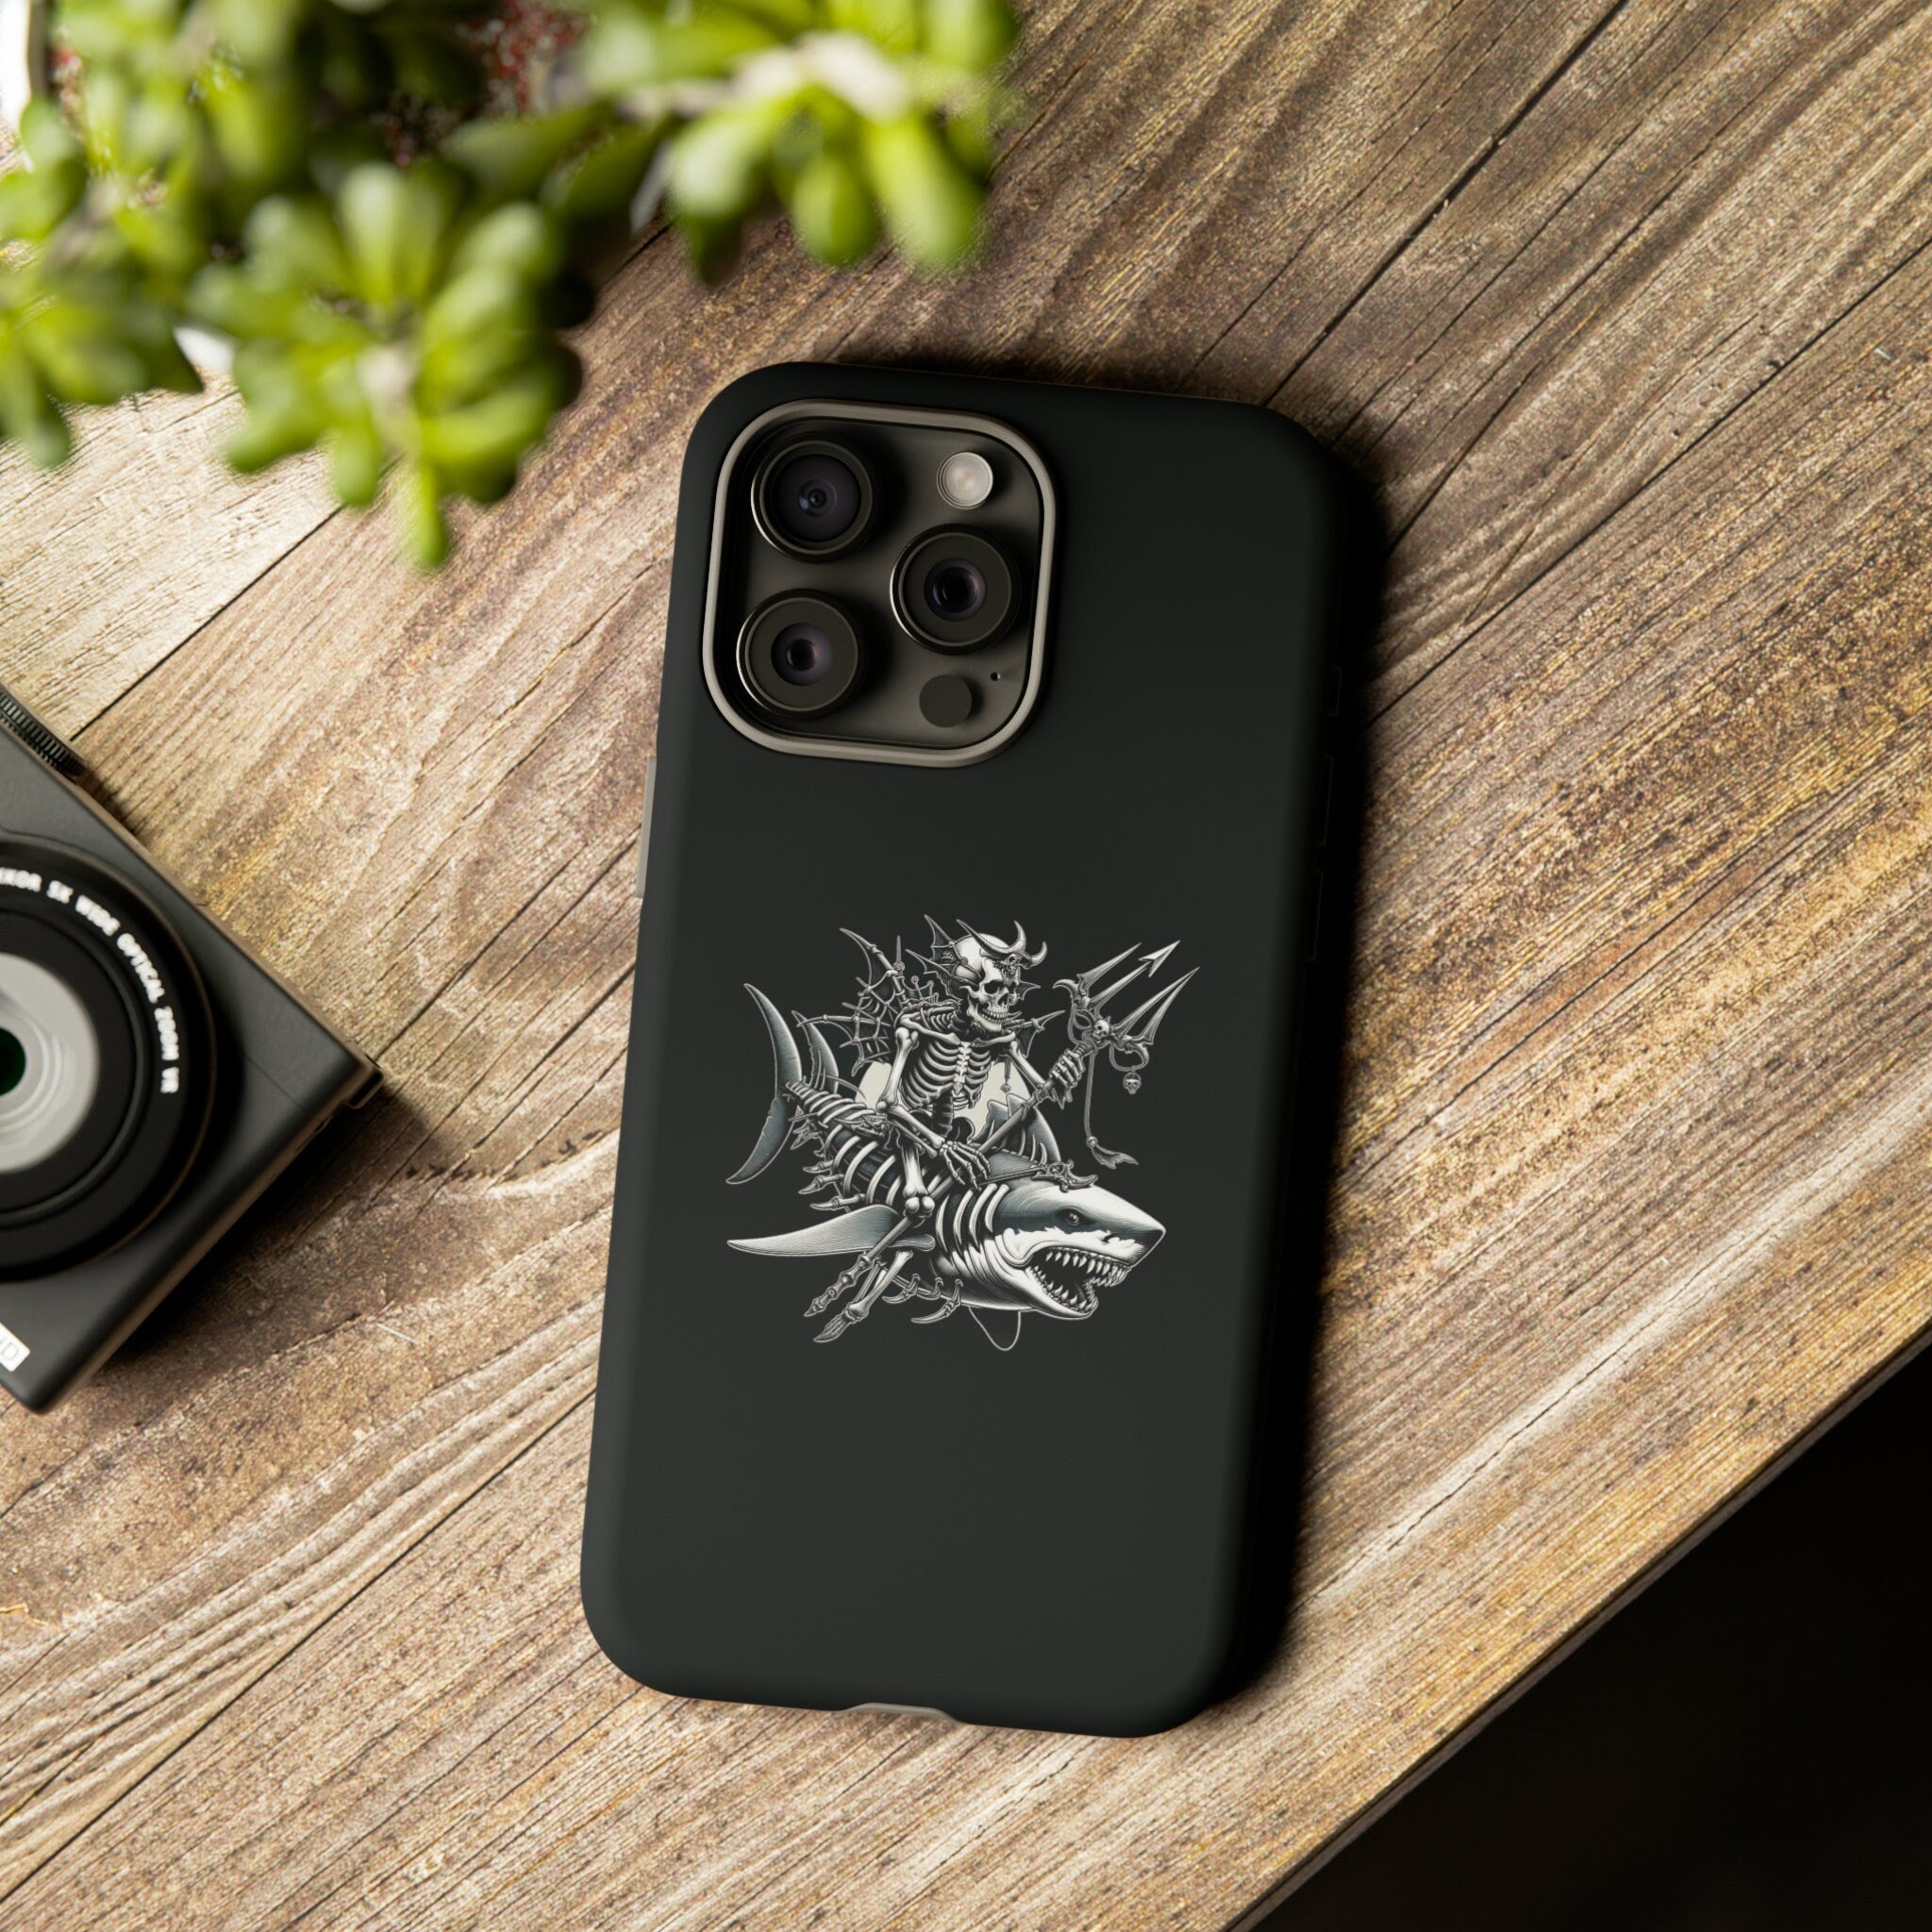
4. Laser Engraved Rubber Phone Case:
Make your phone case unique by adding laser-engraved designs, monograms, or images onto rubber material.
Conclusion
In short, this guide introduces rubber laser engraving and its ability to transform personalized art. We hope it inspires you to explore rubber laser engraving, allowing your creativity to flourish and bring imaginative designs to life on rubber materials.