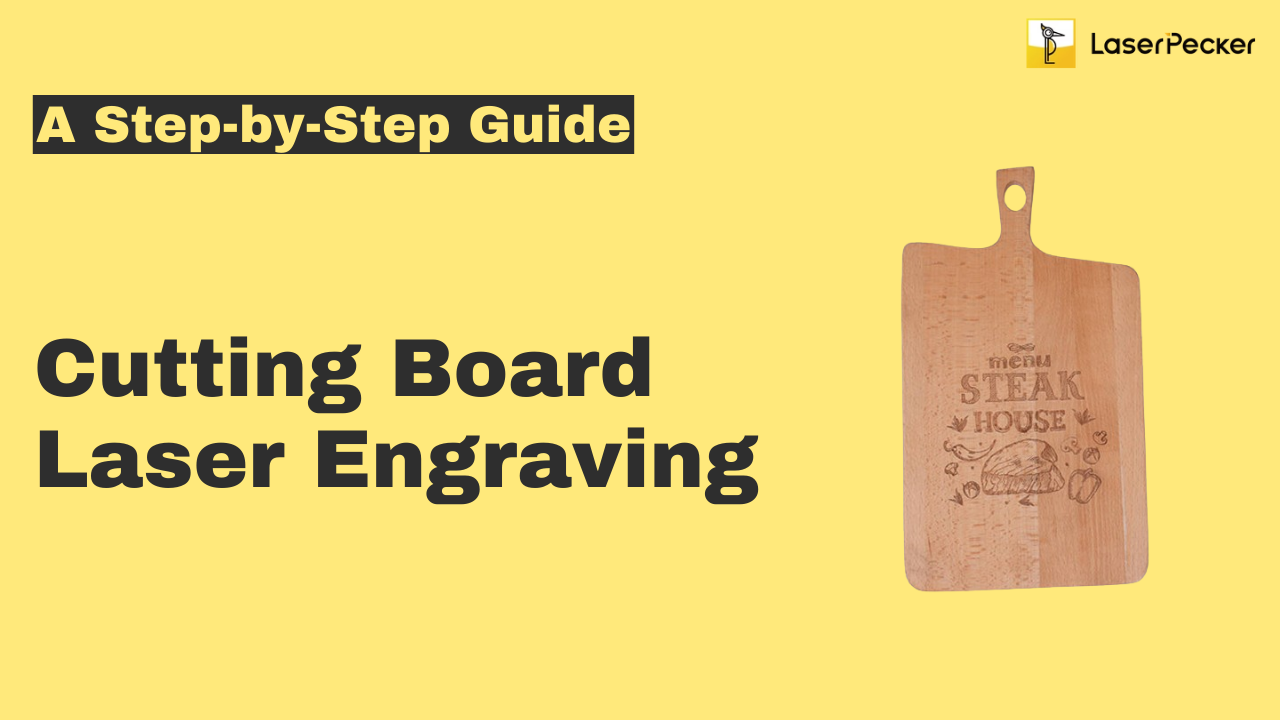
When discussing cutting board engraving, some might ask, "Can you laser engrave a cutting board?" The answer is definitely yes!
"Cutting board laser engraving", also known as chopping board laser engraving, is a skill used to etch or engrave designs, text, patterns, or images onto cutting board's surface.
This guide will delve into cutting board laser engraving, covering everything from start to finish! So, let's dive into this exciting journey together!
In this article:
- Part 1: What is Cutting Board Laser Engraving and the Machine?
- Part 2: Top 4 Creative Ideas for Cutting Board Laser Engraving
- Case Study: Laser Engrave Wooden Cutting Board within 5 Steps 💡
Part 1: What is Cutting Board Laser Engraving and the Machine?
1.1 How Does Laser Engrave Cutting Board?
Cutting board laser engraving works by directing a focused laser beam onto the surface cutting board, which emits high energy and causes localized heating and vaporization of the surface and create the desired effect on the laser engraved chopping board.
1.2 Cutting Board Laser Engraving Machine:
To get started with cutting board laser engraving, you'll require a cutting board laser engraver. This engraver is essential for laser engraving cutting board because it streamlines the engraving process and ensures accurate and durable results.
Someone may ask "Is it OK to engrave a cutting board with a laser engraver? Don't worry, it is completely safe to laser engrave a cutting board as it only removes a thin layer of the cutting board and does not generate any harmful thing
Part 2: Top 4 Creative Ideas for Cutting Board Laser Engraving
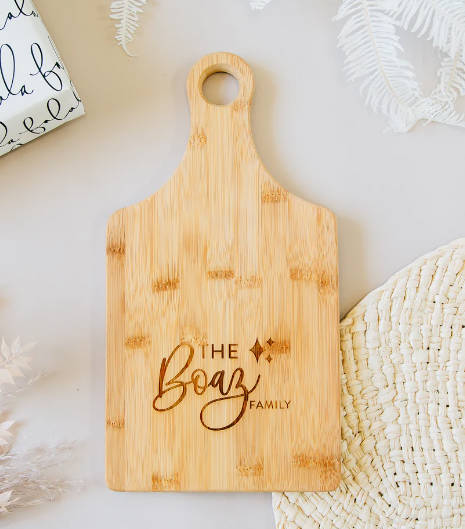
With a laser engraver, you can make a custom wooden cutting boards, such as family names, monograms, or meaningful quotes. These engraved boards add a personal touch to kitchen décor.

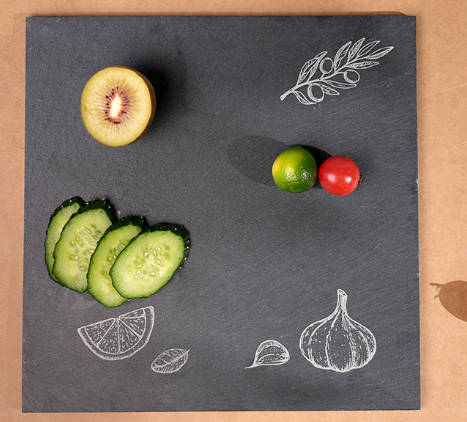
You can laser engrave cutting boards from natural stone, such as marble or granite with intricate patterns or designs.
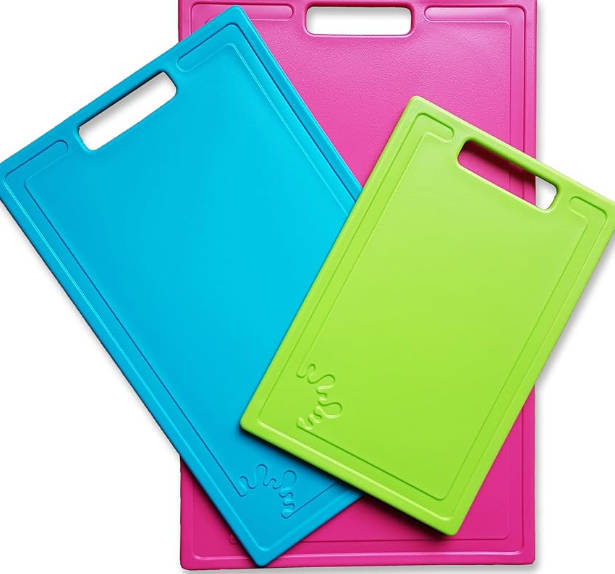
3. Innovative Silicone Cutting Board:
With laser you can laser engrave useful measurement guides, conversion charts, or recipe outlines directly onto the silicone cutting boards' surface.
4. Bamboo Cutting Board:
With laser, you can craft laser engraved bamboo cutting boards with designs, such as intricate patterns, custom monograms, or memorable dates.
💡Case Study: Laser Engrave Wooden Cutting Board within 5 Steps
Preparation checklist for laser engraving wooden cutting board:
- Engraving Material: Wooden Cutting Board
- Engraving Machine: Laser Engraver
- Engraving Design: Text, Images, Patterns, etc
Is laser engraving cutting board hard? Not! The process is straightforward. So, How do you engrave cutting boards? Don't worry, just follow these 5 simple steps to engrave your personalized laser engraved chopping board
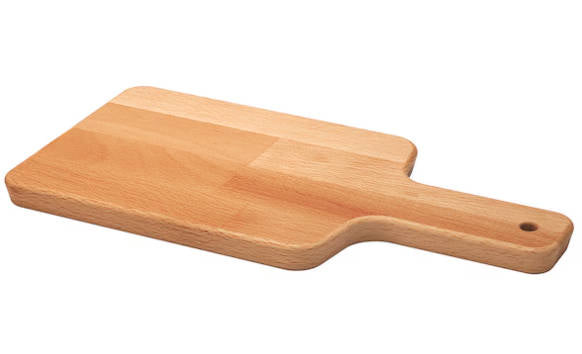
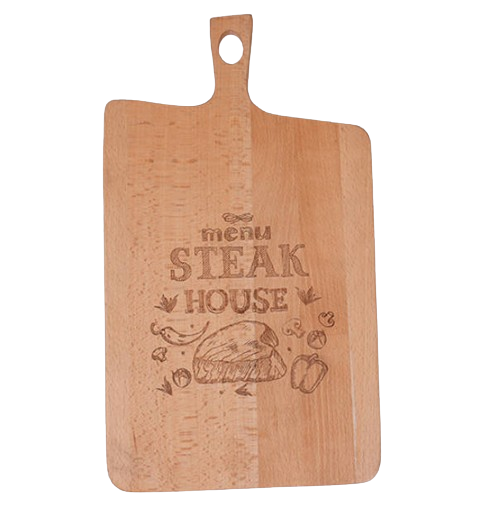
Step 1: Choose Your Material - Wooden Cutting Board
Selecting the right material is crucial for achieving the desired laser engraved chopping board. Different materials require specific laser settings to ensure precise engraving. Besides, please remember that it's important to choose laser-safe wood material to avoid any potential safety hazards.
In this guide, we'll conduct a case study of engraving a wooden cutting board!
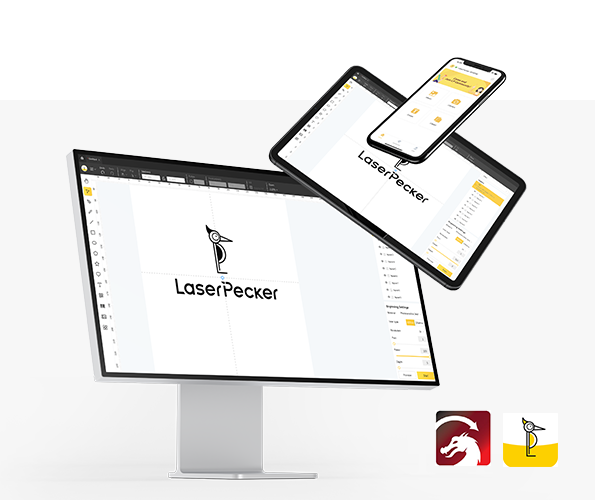
Step 2: Choose the Right Laser Engraving Machine for Wooden Cutting Board Engraving
Ensure that your laser engraving machine is compatible with wooden cutting board engraving. Evaluate various usage scenarios and select the most appropriate machine accordingly.
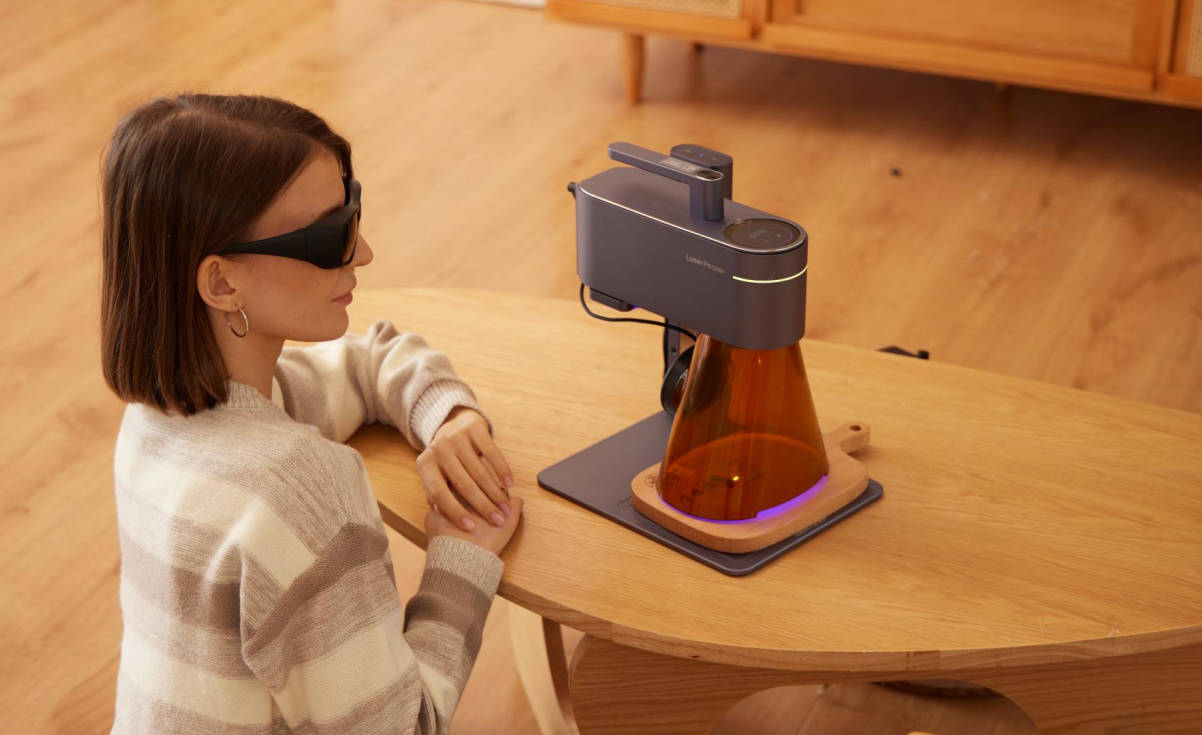
Here, we choose LaserPecker 4 (LP4), which is a dual-laser and multi-functional laser engraver.
Don't have LaserPecker 4? No problem at all! You can use LP2, LX1 or any other laser engraver that works well with wood engraving and continue with the following steps.
Step 3: Prepare Your Engraving Design
Use a free graphic design app/software to create or import the design you want to engrave. Consider size, shape, and other details.
Step 4: Set up the Cutting Board Laser Engraving Machine
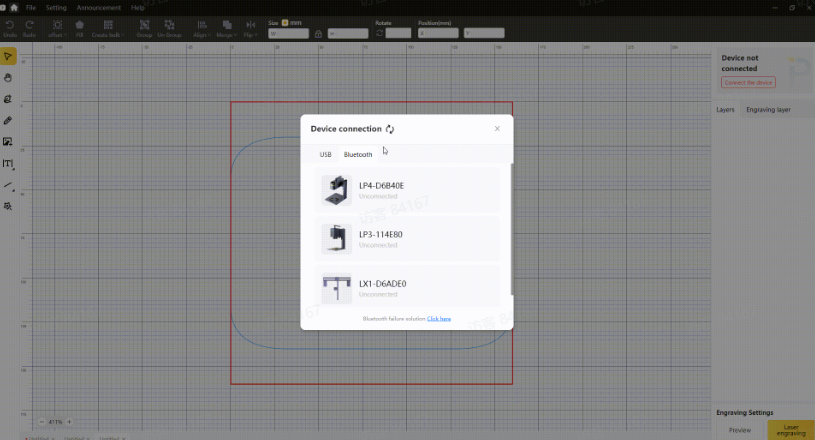
Firstly, Make sure your engraver is powered on, and then connect your laser engraver to your computer or mobile device using the appropriate interface (USB cable, Bluetooth, etc.)
Secondly, Open the graphic design app/software and load your design.
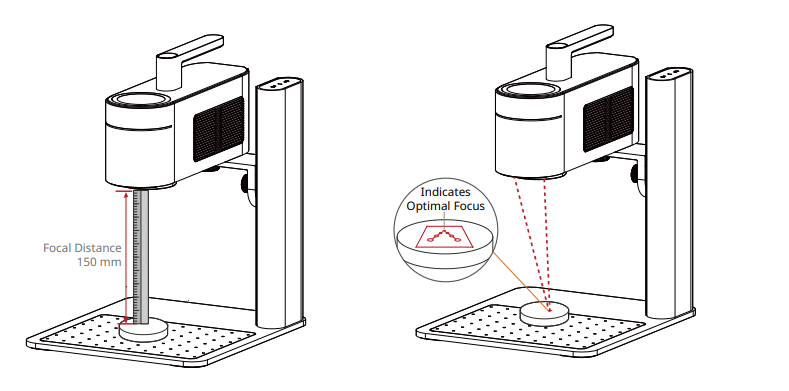
Thirdly, Place the items within the designated working area and check if the laser lens is properly focused. There are two ways to check.
If you choose LaserPecker 4 (LP4), the first method is to use a ruler to measure the distance between the cutting board and the machine, with a recommended distance of 15cm or 150mm.
Alternatively, you can achieve the correct focal length by judging whether the two red dots emitted by the machine overlap. This ensures precise focusing for optimal engraving results.
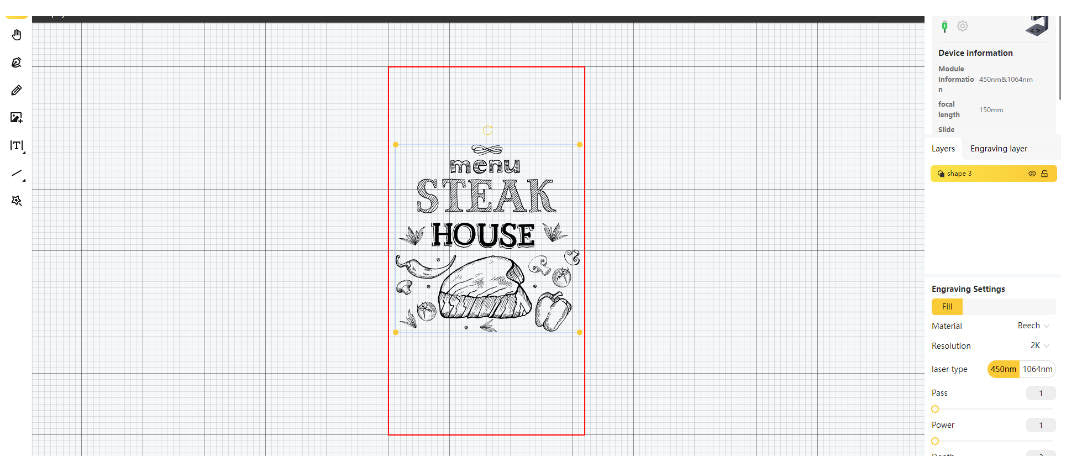
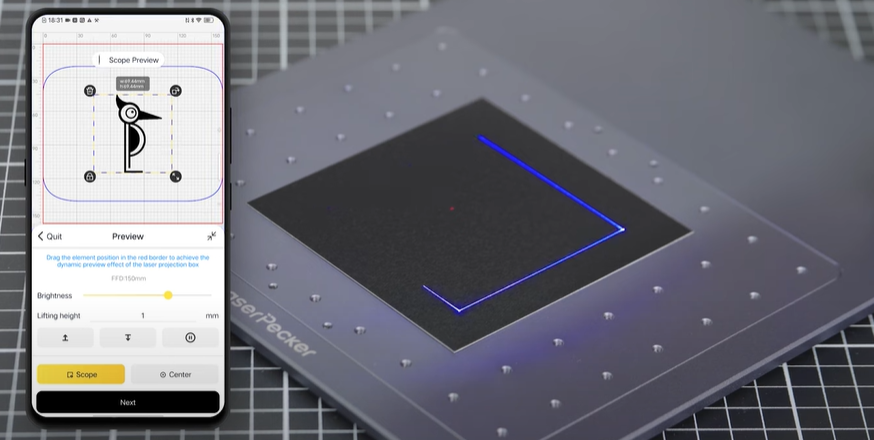
Fourthly, You need to turn on the "Preview" mode to see if the design fits properly on the wood cutting board. If it doesn't, adjust its size and position to match the dimensions of your material.
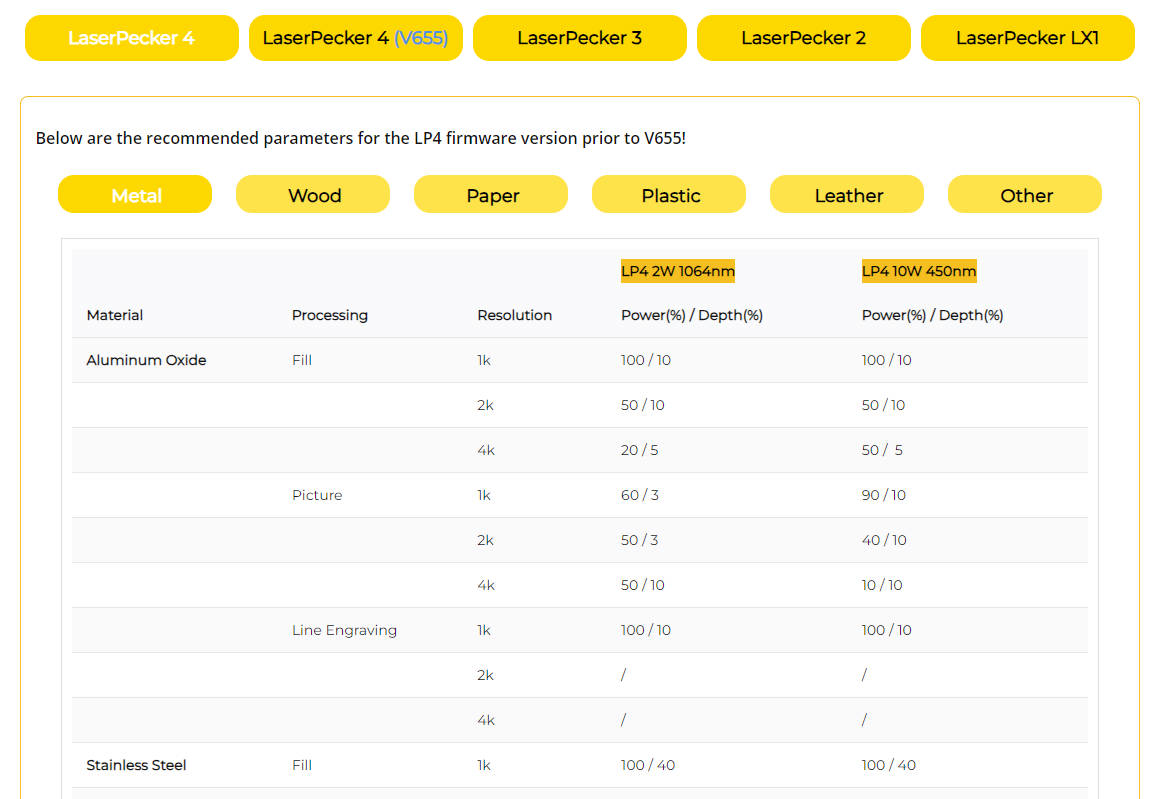
Finally, Access the software's laser settings to adjust parameters like power, speed, and resolution. You might be wondering, "How much laser power is needed to engrave wooden cutting board?" Rest assured, I've got you covered!
To get the best result, the recommended laserpecker 4 material settings for engraving wooden cutting board is 10 W 450 nm; Resolution: 2k; Power: 50%; Depth: 3%; Pass: 1
To explore other recommended laserpecker engraving and cutting parameters, refer to the settings table that applies to any laserpecker machines, including LP1, LP2, LP3, LP4 and LX1.
Step 5: Start Engraving Your Cutting Board With Laser Now
Double-check everything to avoid mistakes. Then, hit the start button and watch the magic happen. The laser brings your design to life. Keep an eye on it, and you're all set!
When operating a laser engraving machine with a 450 nm blue laser, it's advisable to wear goggles or use a laser protection cover to protect your eyes and body from potential harm, as the blue laser can pose risks.
Additionally, please be mindful that smoke or toxic gases may be emitted during the wooden laser engraving process. Wearing a mask or employing an air purifier is essential for safety.
Conclusion
In conclusion, this guide showcases cutting board laser engraving as a powerful means of personalizing artwork. We hope it sparks your creativity and encourages you to explore the possibilities of cutting board laser engraving, allowing your imaginative designs to come to life.