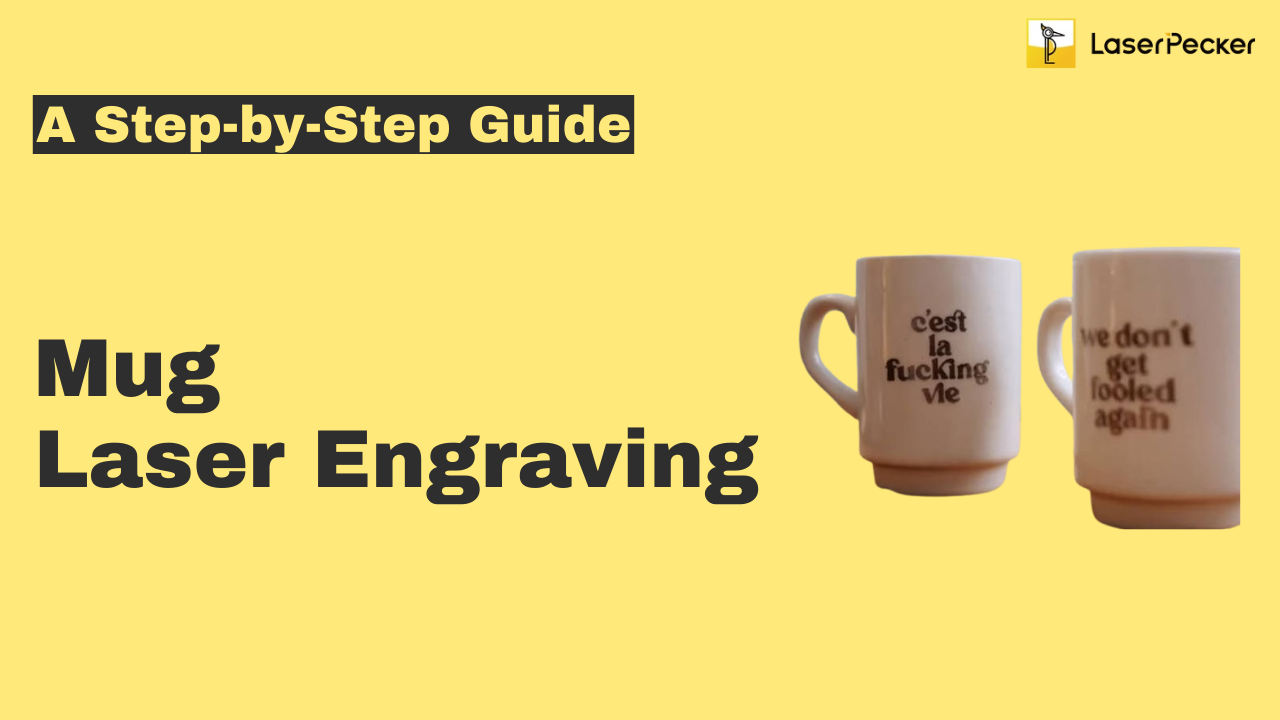
"Can you laser engrave on a mug?" Definitely yes!
In this guide, we will take a closer look at the mug laser engraving. We'll clarify its definition, explain how it works, explore its advantages, and walk you through the necessary steps to create your own laser engraved mugs. So, let's dive into this exciting journey together!
In this article:
- Part 1: The Overview of Mug Laser Engraving
- 1.1: What is Mug Laser Engraving?
- 1.2: How is a Mug Laser Engraved?
- 1.3: Mug Laser Engraving Machine
- Case Study: Laser Engrave Ceramic Mug Within 5 Steps 💡
Part 1: What is Mug Laser Engraving and the Machine?
1.1 What is Mug Laser Engraving?
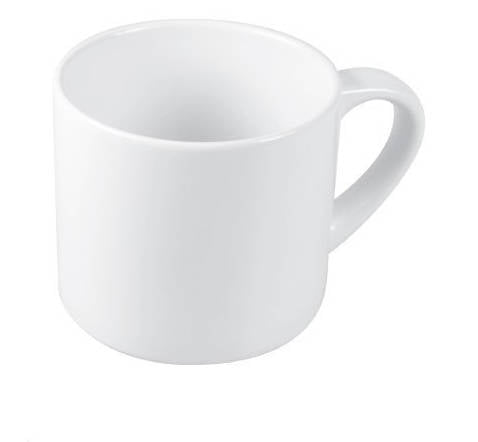
Mugs are usually cylindrical in shape with a handle for easy gripping and are commonly made of materials like ceramic, porcelain, glass.
When discussing laser engraving mug, some actually mean the ceramic mug laser engraving. However, if you want mugs made of metal, you may be looking for tumblers!

1.2 How is a Mug Laser Engraved?
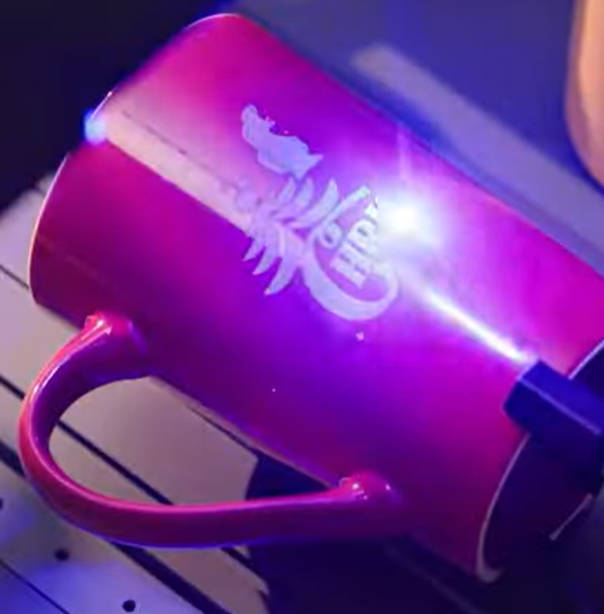
Mug laser engraving, a type of ceramic laser engraving involves utilizing a high-powered laser beam to etch designs or text onto the surface of the mug. This process emits high energy and causes localized heating and vaporization of the mug's surface, resulting in the creation of text, images, or patterns on the laser engraved mug.
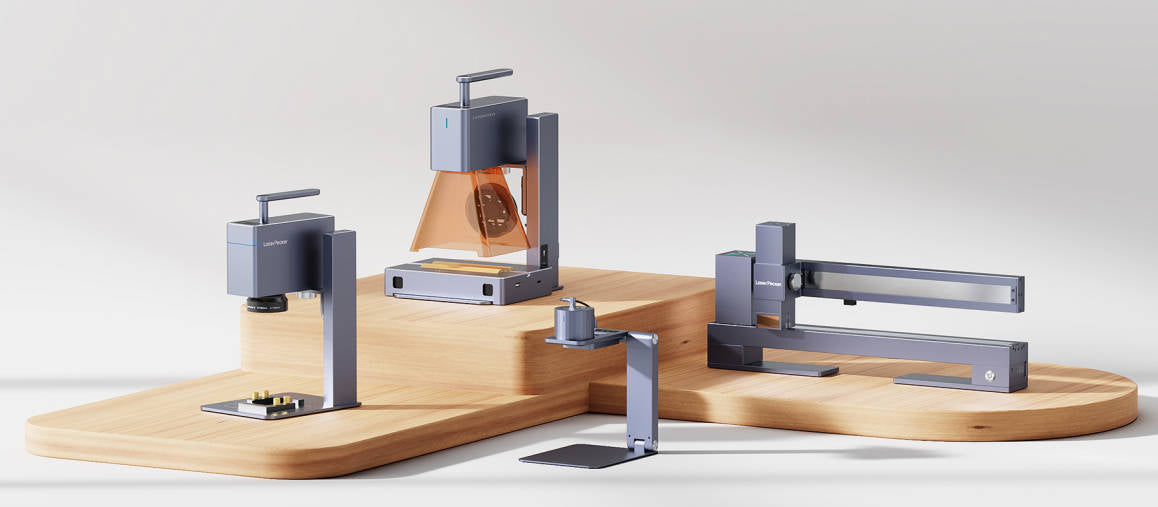
1.3 Mug Laser Engraving Machine
To begin laser engraving mug, you'll need a laser engraver. This engraver is essential to the engraving process because it streamlines the engraving process and ensures accurate and durable results.
With numerous laser engraving machines available (like Diode laser engraver, CO2 laser engraver and Fiber laser engraver), some may wonder What laser engraving machine do I need to engrave a mug?
Actually, it depends on your engraving needs. For home or small-scale mug laser engraving project, diode laser engravers are the best choice. Because these diode laser engraving machines are easy to use and budget-friendly compared with other mug laser engravers.
💡Case Study: Laser Engrave Ceramic Mug Within 5 Steps
Peparation checklist for laser engraving ceramic mug:
- Engraving Material: Ceramic Mug
- Engraving Machine: Diode Laser Engraver
- Engraving Design: Text, Logo, Images, Patterns, etc.
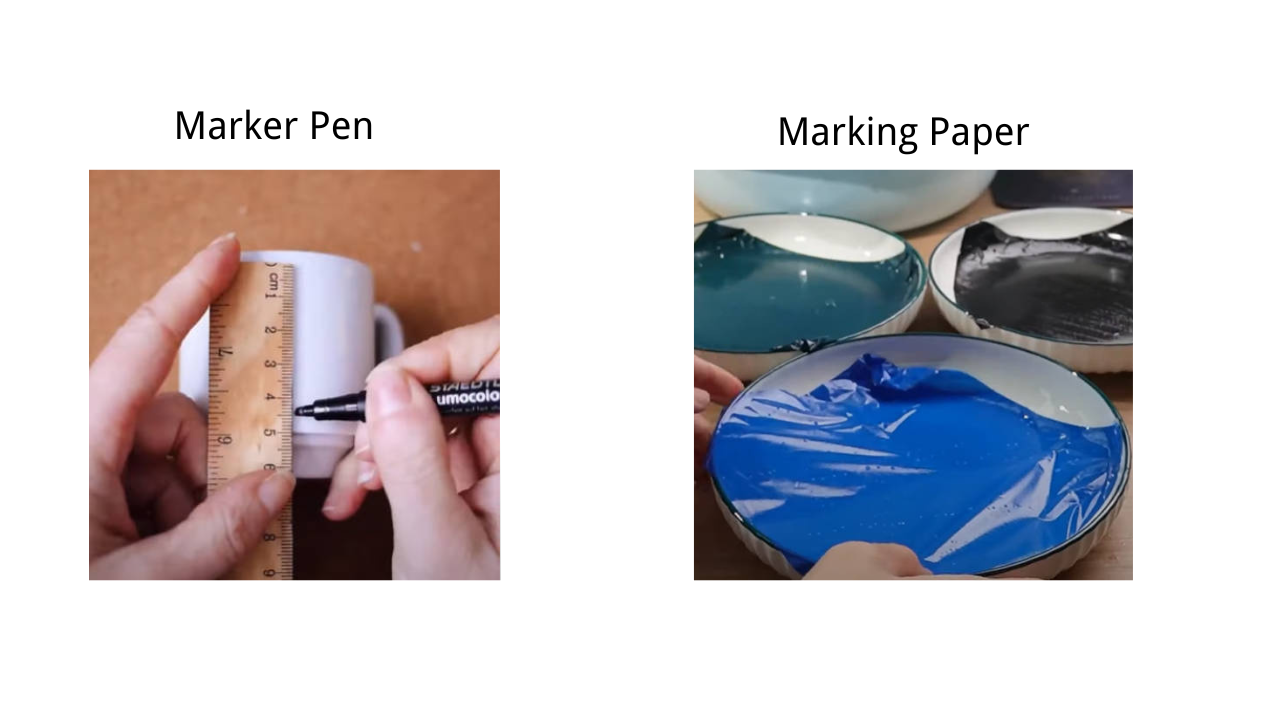
- Tools Aiding Laser Engraving: Rotary extension, Marking paper, Marker pen
Is laser engraving mug hard? Not! The process is straightforward. So, How do you engrave a mug? Don't worry, just follow these 5 simple steps to add personalized and intricate designs to your personalized laser engraved mug.
Step 1: Choose Your Material - Ceramic Mug
Selecting the right material is crucial for laser engraving mug. Different materials require specific laser settings to ensure precise engraving. Besides, please remember that it's important to ensure that the mug's material is laser safe to avoid any potential safety hazards.
In this guide, we'll do a case study to laser engrave a ceramic mug!
Since the surface of the mug is reflective, it is necessary to coat the surface of the mug with marker pen or marking paper to get the best laser effect!
Step 2: Choose the Right Laser Engraving Machine for Mug
Here, we recommend LaserPecker 4 (LP4), which is a dual-laser and multi-functional laser engraver that excels in ceramic engraving.
Step 3: Prepare Your Engraving Design
Use a free graphic design app/software to create or import the image or pattern you want to engrave on the mug's surface (you can also choose graphic design tools like photoshop). Consider size, shape, and details like text or patterns.
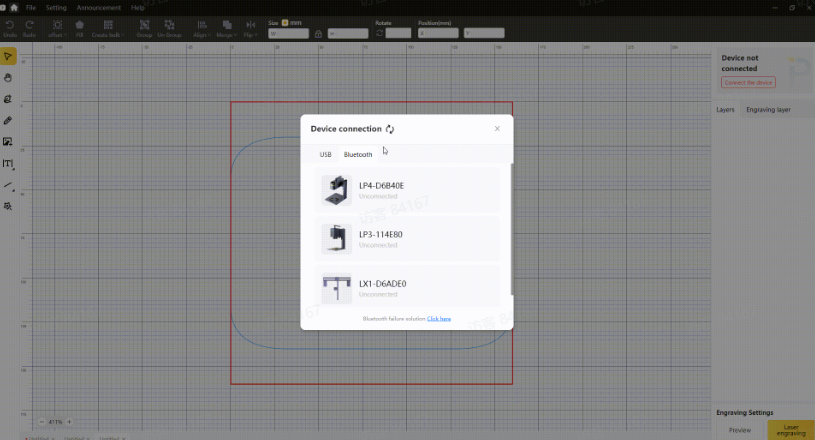
Step 4: Set up the Mug Laser Engraving Machine
Firstly, Make sure your engraver is powered on, and then connect your laser engraver to your computer or mobile device using the appropriate interface (USB cable, Bluetooth, etc.)
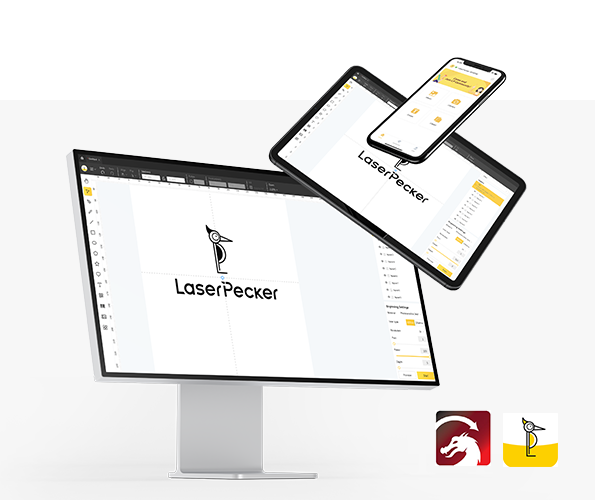
Secondly, Open the LaserPecker Design Space and load your design. (formats like JPG/PNG/G-Code/SVG etc are all acceptable)
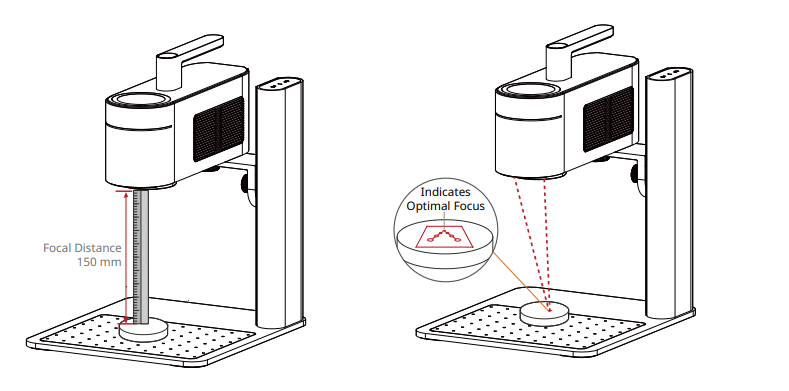
Thirdly, Place the items within the designated working area and check if the laser lens is properly focused. There are two ways to check.
If you choose LaserPecker 4 (LP4), the first method is to use a ruler to measure the distance between the mug's surface and the machine, with a recommended distance of 15cm or 150mm.
Alternatively, you can achieve the correct focal length by judging whether the two red dots emitted by the machine overlap. This ensures precise focusing for optimal engraving results.
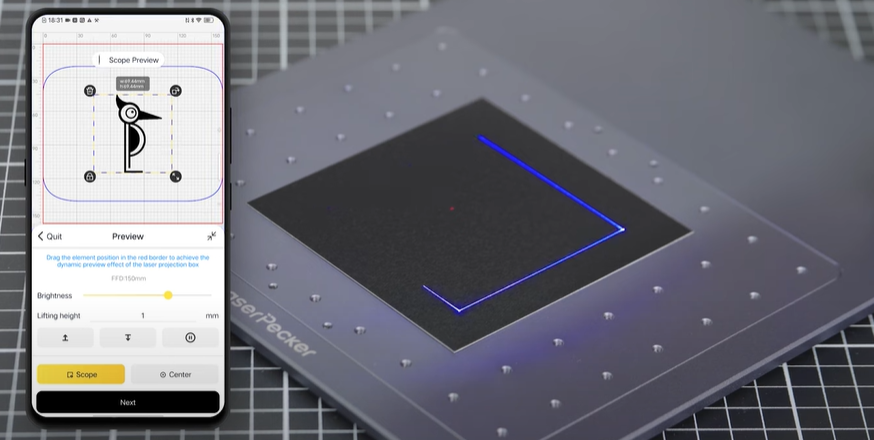
Fourthly, You need to turn on the "Preview" mode to see if the design fits properly on the mug surface. If it doesn't, adjust its size and position to match the dimensions of your material.
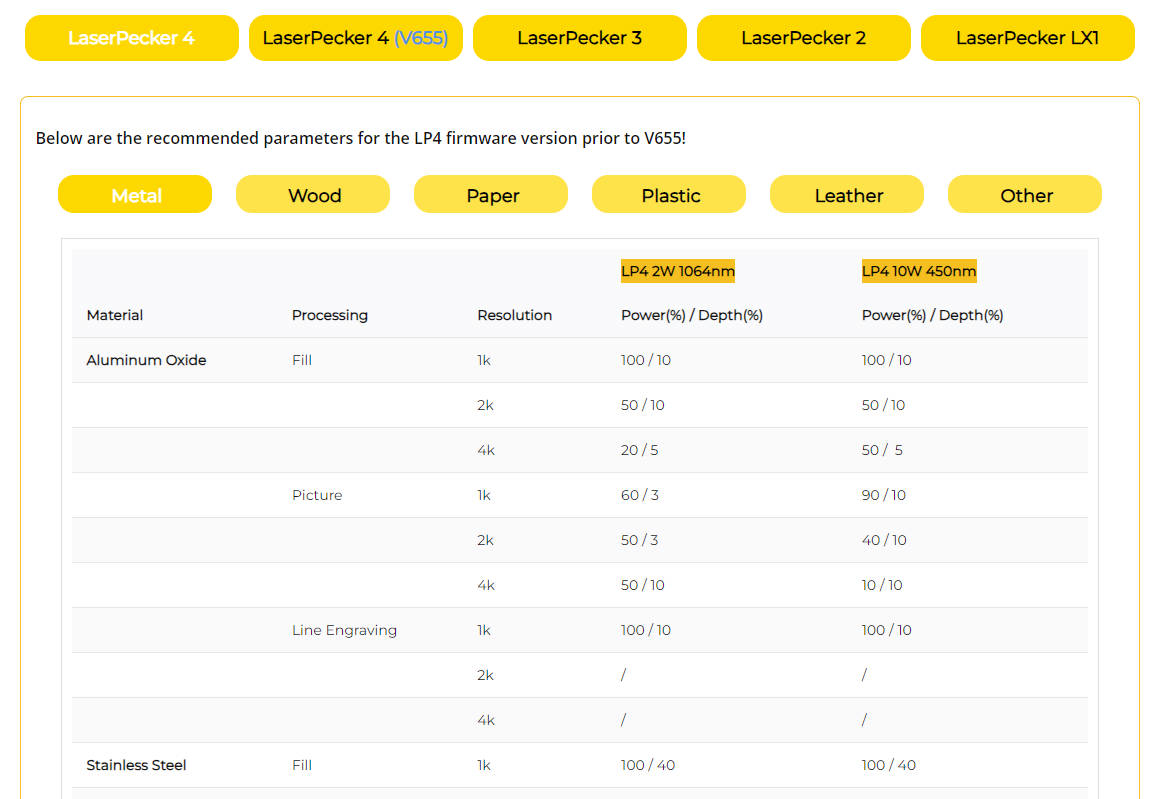
Finally, Access the software's laser settings to adjust parameters like power, speed, and resolution according to the mug's properties and design intricacy. You might be wondering, "How much laser power is needed to engrave ceramic mug?" Rest assured, I've got you covered!
To get the best result, the recommended laserpecker 4 material settings for ceramic mug is 2 W 1064 nm; Resolution: 2k; Power: 100%; Depth: 100%; Pass: 1
* You have the flexibility to adjust these settings based on the actual laser engraving effect.
To explore other recommended laserpecker engraving and cutting parameters, refer to the settings table that applies to any laserpecker machines, including LP1, LP2, LP3, LP4 and LX1.
Step 5: Start Engraving Your Mug With Laser Now
Double-check everything to avoid mistakes. Then, hit the start button and watch the magic happen. The laser brings your design to life. Keep an eye on it, and you're all set!
When operating a laser engraving machine with a 450 nm blue laser, it's advisable to wear goggles or use a laser protection cover to protect your eyes and body from potential harm, as the blue laser can pose risks.
Additionally, please be mindful that smoke or toxic gases may be emitted during the mug laser engraving process. Wearing a mask or employing an air purifier is essential for safety.

Conclusion
In summary, mug laser engraving offers a unique avenue for personalization and artistic expression. Through precise laser technology, ceramic mug can be adorned with intricate designs, text, or messages, enhancing their visual appeal and individuality.